


Today, Sharlane will be mounting one of the play house posters so that it can be displayed. Currently the poster has a few rips and would not be strong enough. Sharlane had already removed the old tape from the back as a way to start the process of cleaning the item so that it can take the remounting.
The first step in this process is digitizing the item. Sharlane had already digitized the front of the poster, but still needed to photography the back of it so that there is a record of the item's condition before repairs. We someone got the large poster through all the doors by putting it between a board and a clear plastic cover and tilting the item sideways to carry it to the lab. Case Western has a lab set up for digitizing large flat items.
To start the digitization, you position the camera so that it will capture the full item. Then you place a focus card in the center, so that the camera can be adjusted for a sharper image of the item no matter the distance. The focus card is part of the software. Pre-scan the item and adjust the settings on the camera and in the computer software and test again. Books should be digitized above 600dpi (unless it's tiny), while small items should be done at 3500dpi. The smaller the item, the larger the dpi for scanning.


Now that we've covered most of the book repairs that can be done in a preservation department, we looked at the microfilm repairs that needed done. The reels you use should have the universal hole at the center, allowing for it to be used on different kinds of machines. You should also used non-acidic wraps/tag/ties, which can be tested with a pH pen (or marker). I actually took one of these home to test on the wraps that are used at my job. If the pen ink turns purple it is non-acidic, pale yellow-it is neutral, and bright yellow indicates that it is acidic.
Today we worked with a microfilm splicer and upright stands that the reels can be loaded. We have several items that need joined into one piece of film.


First thing to keep in mind is that every piece of film should have leader tape on the beginning and end of the film.
-To do this, find the correct direction of the film-upright, but backwards and load the film into the left side of the splicer overlapping the film slightly on the right side. The film should always have the outter-most piece upright and backwards when viewing. If you have trouble with this, try using a light box and a lupe to view the film.

This may require rolling the film onto a new reel to get the right direction.


A light box is simply a box with a bulb underneath, having its light reflected upwards by the use of reflective metal.
-Then position your leader tape on the opposite side, overlapping it slightly.
-Use small scissors (preferably with a straight edge) to cut the two together. This way the edges of both items match.


-Get the film splice tape (like small stickers), remove one side of the paper, and position it down on one side of the tape, before taking off the other side and smoothing it into place. The tape can be lifted and readjusted a few times.

-To finish, you check the positioning of the film and put the wrap around the item.

See the different colors of film, now all spliced together on one reel?
At this point I watched Sharlane continue mounting the poster while I worked on finishing pulling the twine through on the other side of my book. Sharlane told me that if you need a quick fix to deacidify an item, a spray can be used, but it is expensive. The item Sharlane was working with was slightly acidic.
She prepared the item by cleaning it and setting it aside. Then misted the new backing paper (Japanese paper) completely, removing air bubbles underneath by washing it with a water brush. The water prepares the surface to accept wheat paste.


Once the surface is prepared, Sharlane thinned the wheat paste with distilled water in a blender. Then she applied it with another brush to spread the solution evenly across the surface. At this point the paper is ready for the poster to be placed on top of it. This is done by gently lifting the item and positing one side down, smoothing towards the other side.


At this point the whole item must be moved onto large blotter and remay pieces carefully. Then another sheet of blotter and remay are put on top absorb the water (this must be changed out several times). At this point all edges and tears should be check for positioning as well as looking for any ripples or bubbles in the paper. The item is much easier to tear while it is still saturated with glue.


Put the item under a sheet of plexi-glass and weights so the item will dry straight.

Here is what my book looks like, now that it has both sides of the board attached:


Around 2:00pm we toured the Morgan Art of Papermaking Conservatory and Educational Foundation, where handmade paper is created. Here are some images from the trip:


Along with being a papermaking factory, they also display paper art.

There are many of cabinets of letters used in printing pages.

When not in use, the machinery is protected from dust with cloths.

This is the work area, where the paper elements are combined and sieved out onto screens.
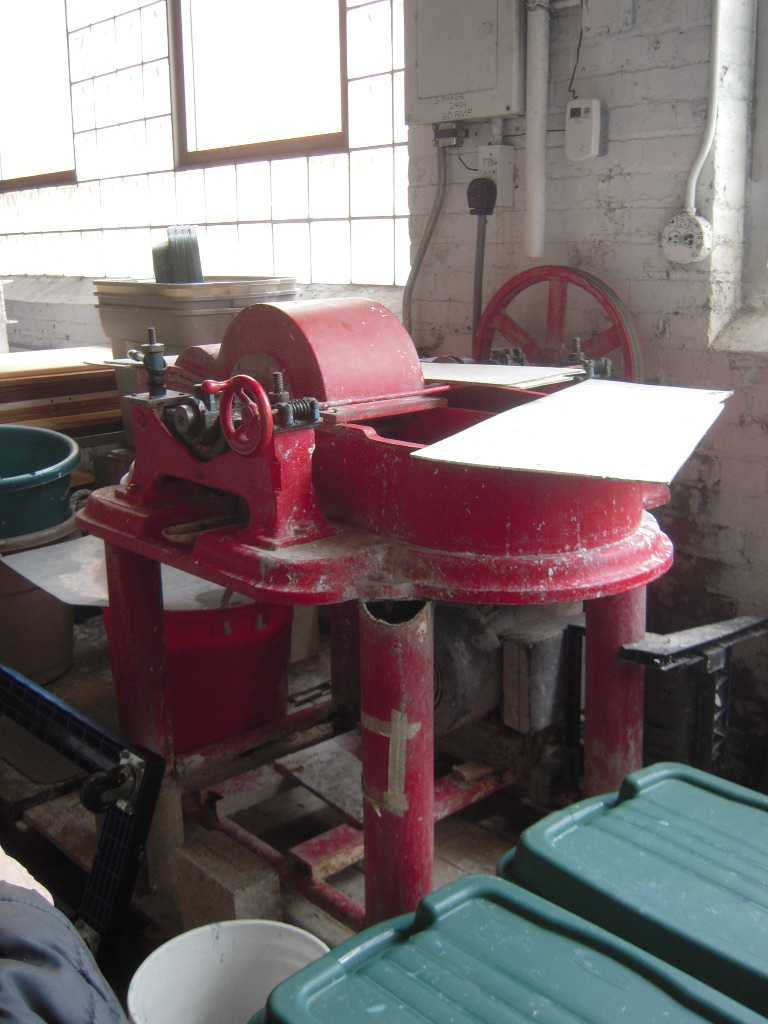
This machine beats the wood pulp, instead of grinding them-which shortens the fibers.

Here is some paper fibers that have been soaked in a dye that does not come off when it is wet. It is a part of the paper.

Watermarks are made by sewing a shape to the screen.

The factory grows and harvests its own materials! This is one of the few handmade paper factories that use a Japanese kozo tree in America.


This is a paper that has been thinned in places to create an image seen in the light.


Paper can be made with inclusions, like leaves or flowers by adding the pieces to the wood pulp after it is beated.


This machine is used to print letters on pages.


After the tour we returned to the preservation lab, where I started making a second book to be raffled off at the Octavo Fest the library attends each year. The first one I created was a quarto because I only folded it twice-creating four pages. This one is an octavo because you fold it three times creating eight pages.
This time, I sawed into the spine so that the cords would not stick up as much. To the same effect, I took two strands of the twine off. I also decided to not sew the end sheets on because of the problem I had with the last book's end sheet ripping. My day ended at 4:50pm.
*If any processes are repeated in my blog, it is because they were repeated during my practicum experience. I apologize for any redundancy.
No comments:
Post a Comment