


As a finishing touch, you can pull back the frayed corners of the cover, tease them into layers and put some PVA in before smoothing it back in place. Hold it in place for a moment before releasing, and the item is completely fixed. I made sure to mark down our items on the tally sheet before continuing on to the next project.
I also finished my hollow tube reback, which had glued the spine piece to the hollow tube/spine liner and had to be gently released with a spatula.
*It is important to note that a glue brush should be proportional to the area, because the glue dries quickly.
*It may be easier to glue the side fabric using a fan brush for hollow tube items because you are trying to avoid getting glue on a section of fabric.
To finish, we trimmed the titles so that the edges were even with the text, had an even amount of space on each end, did not include frayed edges or extend over the side of the spine. This was done using a clear, lined ruler and scalpel. These pieces are glue with PVA to the center of the spine and bone folded down (it may be easier to cover with wax paper first so that the fabric doesn't shift). We covered the spines with new wax paper and bean bag weights while in the upright press/brace.
Don't be alarmed if the book is a little warped when it is done: the spine may expand when glued and/or rebacked, while it's possible that it may contract while under weight.
If you have a book that has been previously rebacked with any kind of cloth adhesive, the adhesive can be removed with 91% alcohol solution.
Today I continued practicing sewing in signature. The materials needed an envelope for the pamphlet binder, instead of using the binding tape (the flaps at the center or the binder). Normally envelopes would be glued into the front and back to hold several items sewn-in-signature, but this item only requires one.
-The first thing we did was glue down the binder tape by putting wax paper underneath and coating the tape before placing it down onto the binder.
-Then we glued the back side of the empty envelope and placed it down with space for stitching.
-To finish we put wax paper between the board and envelope, then placed the binder under a board and brick to dry.
Sometimes you take apart an item to be rebacked and find that the binding is loose. For items that are sewn-in-signatures, it's a simple repair. Sharlane demonstrated how to clean up the old glue, then put in the press. We used the same one as you would for a double-fan adhesive repair, which can be tilted over for ease of clamping and weighting. This repair is basically the gluing process of the double-fan adhesive. While it's in the press use are large brush to glue (PVA) across the top, then shift the pages to and fro to cover all of the edges. The item then needs to be lain down while still clamped together (which the press allows for) with wax paper around it. Be sure to place the block against the spine to keep it straight and put a board and brick on top.This method strengthens the binding while keeping the sewing intact.
*Don't use the PVA mend on older or more valuable books, in case the item would not be able to take the repair.
At this point in my practicum experience it is important to reiterate the things I have already learned so that I can repeat them in the future. I practiced sewing a singled signature into a pamphlet binder, doing a case tightening where the pages were coming away from the super, and a Kapco lamination for a paperback book. The only thing I had problems with was the Kapco. I had a few spots on the lamination, because I didn't clean my hands of glue first. There were more bubbles as well, which I was able to remove by lifting up the Kapco again and using an awl to stick put a hole through to the bubble. The important lesson here is that I should have cleaned my hands before handling a different item, let alone a different repair type.
We decided to cover box making this session. This library uses phase boxes for general items and clamshell, or drop-spine/double-tray, for some special collections items. We covered phase boxes, which can be made with bristle or corrugated board, depending on the type of item you are repairing. Here is an example of one of the boxes I made:


This repair should be completed entirely at the board shear station, unless you are using the corrugated board, which must be bent on the machine intended to not rip the layers (shown below).

-Measure the (bristle) board against the materials starting with the length. Not all items are lopsided, so be sure to mark the furthest edge.
-Remove the item and cut the board to the measurement.
-Place the item back down on the end and place a triangle to its edge (or whatever portion sticks out furthest).
-Remove the item and draw a line by the triangle on the board with the bone folder.
-Lift the edge of the board while holding the triangle in place and use the bone folder to crease the board against the triangle.
-Remove the triangle and smooth the edge down with the bone folder.
-Place the item against the fold upright and mark the width for the next fold with the triangle. Each step should be done using the book, or else the thickness will not be correct to allow for the width the board adds to the item.
-Remove the book and draw a line by the triangle on the board with the bone folder.
-Lift the edge of the board while holding the triangle in place and use the bone folder to crease the board against the triangle.
-Repeat the last 7 steps to create a holder with two flaps. (Refer to photo above if any confusion)
-There should be two flaps now with some board extending above it. With the item within the board, mark the edge of the enclosure.
-Remove the item and cut the board.
-Repeat this process for the width, but be sure to use the measurements of the item in the length folded board.
-When you are done, each piece should have three main portions and two width portions.
-Turn the length piece over and adhere three strips of double-sided tape spaced out vertically (two should be near the edge, not on it) to the board.
-Take the paper off of the double-sided tape.
-Weight each side of the width piece and position the length portion, tape-side-down between the creases.
-Remove the item and smooth the length piece down.
-Attach two sets of velcro by removing them from the paper, putting the opposite sides together, placing one side on the board about 1/2 inch from the foredge and an inch from the bottom and top edges.
-With the item in the holder and the velcro pieces on, pull over the top flap to where it could comfortably attach itself. (Not too tight, or it will put stress on the velcro adhesive)
The item should appear like the photos above.
This entire process can be repeated for thin items that need to be in a hand binder. The difference is that you glue down the binder tape.
-Make sure to get the glue in the crook of the binder and while it's wet smooth close the item and smooth it down so it doesn't warp. Let the binder dry for five minutes.
-After measuring and cutting and attaching the bristle board, like above, use the double-sided tape to place the holder in the binder. Remember that the holder should go towards the bottom so that it doesn't hang and the holder should leave enough room for the spine and gutter of the binder.
*The holder always goes with the outer flap being the one that is to the outside edge of the board (in case it should fall out).


When its done the repair slip goes back into the item.
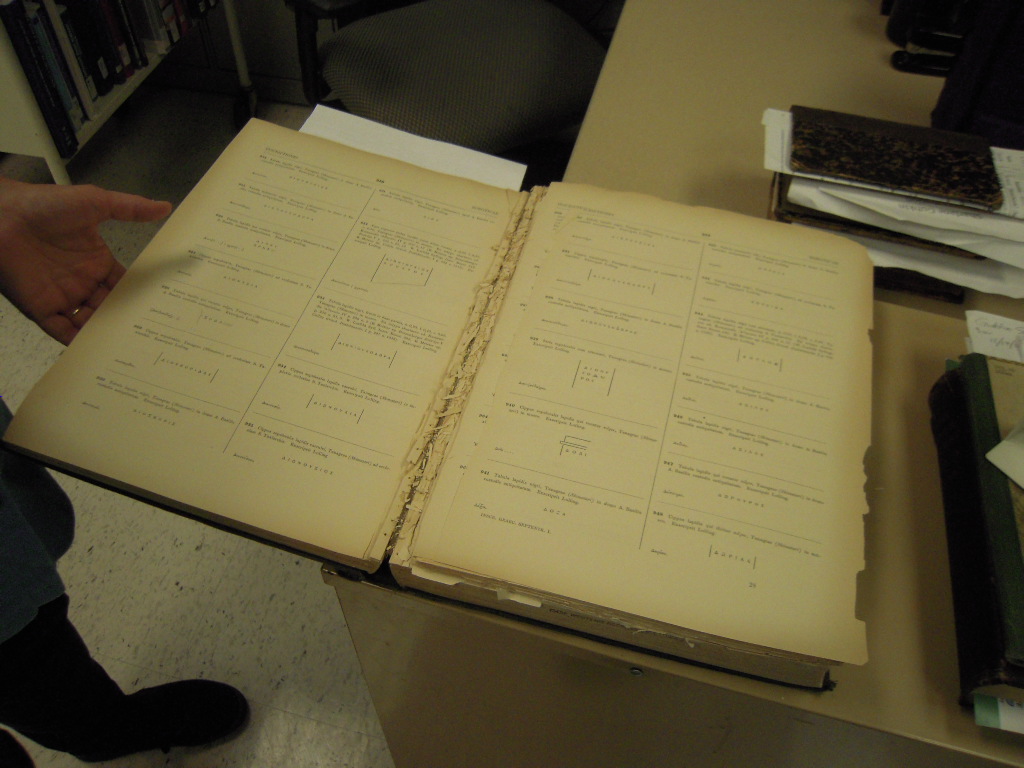
At the end of the day I was interested in what a severely damaged brittle book would look like, so Sharlane showed me a large book that had a large portion sitting loose in the center.

My day concluded at 4:10pm.
*If any processes are repeated in my blog, it is because they were repeated during my practicum experience. I apologize for any redundancy.
No comments:
Post a Comment