*It is important to note that if the book has any pieces that have been separated by damaged, they should be placed in the front cover of the item (excluding loose pages, of course).
Today we worked with the thicker board, that requires the board press to bend the pieces. I followed the same process as with the bristle board, but at the press. It works by way of a lever that you must stomp on, which brings down a blunt edge and pops the board up to nearly a 90 degree angle. Of course, you have to hold one side of the board in place or it will give you a crooked bend. This board is hard to bend with anything else because every other means rips the paper-compromising the integrity of the holder.
One of the other new things I learned is the blade of the board sheer must be periodically cleaned with alcohol and should be sharpened every one to two years. Without doing those things they sheer will live residue on items, or will not cut as easily.
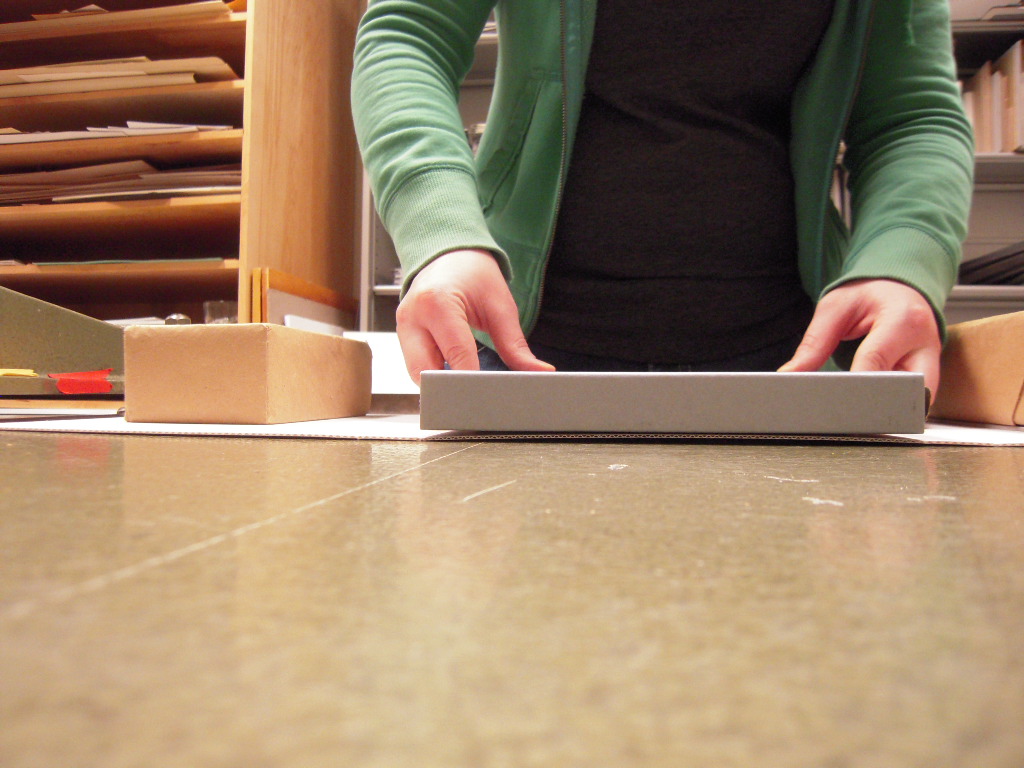
Here are several images of the process of creating thick phase boxes:


I also made a phase box with a fasteners instead of velcro.
-When you get to the end of the width piece, instead of cutting the board off, you measure the width of the item again and then cut the board. It is okay to make this piece a little shorter if you are running out of board.
-Two holes for attaching string should be made in the width piece around the opposite side of the extra flap of material you just made.
-Thread the string through, knot it, and glue down the end with PVA.
-Make two holes at the same level of the strings by pulling them over to the flap of material and marking the spot with an awl. Putting the fasteners on the back is a way of protecting other items in the collection from damage. The fastener pieces will not be resting against another item, creating an indent.
-Take the "male" piece and put it through the hole with the plastic disk on the other side. The plastic disk will need to have the hole enlarged with the awl as well in order to fit over the "male" piece.
-Put the board on the floor and hammer the "female" piece over the plastic until it pops the plastic edges and indents. This secures the "female" piece to the "male" piece with the plastic portion in the center of the two.
When this is done the item should be tested in the enclosure with the string twisted around the fastener.

When the IMLS student arrived, we went to change the papers on the hygrothermographs and report back the results. The majority of the results up to this point have shown that there have been few spikes in temperature and humidity. This week the heat has not been adjusted to accommodate for the season change, so the building is much warmer and slightly more humid.
Around 2:00pm we left for a planned visit to go to see Ellie's bindery, which is not affiliated with a library or commercial bindery but caters to individuals.

Ellie works part time for the preservation department at Kelvin Smith Library while running her small business. The Strong Bindery, named for Ellie Strong, is within a Loganberry Bookstore on Larchmere Avenue in Cleveland. She takes commissions to work on books for the general public. Most of the items she restores end up being family Bibles. Restoration calls for different materials, some of which would be considered less preservation-oriented (such as some leathers or papers). The goal is to reach the aesthetic and authentic look when the item is completed. Shown below is a draw full of unique handmade paper, called "cave paper".

This bindery also has some different machinery, such as the older style of embossing machine shown below:

The bookstore is gorgeous, so I thought I should include a few images of it as well:


When we returned from our visit, we covered multi-signature hand binding.
-First prepare the binder to size.
-Mark the center of the first and last signature with a clip.
-Then make the four holes in the first signature with an awl, two near the edges and then evenly spaced in the center. The holes should be visible on the spine.
-Open to the last signature and repeat the process, making the holes in the same spot.
-Make the corresponding four holes in each side of the binder. Use the awl to put the holes through the board, not just the fabric.
-Start on one side at the edge and run the string through both board and signature, weaving back and forth without overlap. You should go through the first hole within the book, then outside the binder, then within the book again, leaving the string on the outside on the far edge.
-Go through the hole opposite of where the string came out and go through the first hole within the book, then outside the binder, then within the book again.
-Tighten the strings till you hear a twang.
-Do a square not going both ways (over-under, under-over). You can glue down the extra strings, but it isn't necessary.
-Take out paper clips.
The day ended at 4:35pm.
Next week will be spent planning the paper, end sheets, and cloth for the empty book I am making. This week I will buy and fold the paper to start the project.
*If any processes are repeated in my blog, it is because they were repeated during my practicum experience. I apologize for any redundancy.
No comments:
Post a Comment