Wednesday, April 25, 2012

Thirteenth Week Experience (Day 2)-April 20th

I arrived at 8:40am. First thing we accomplished was the finishing touches on the flow charts and updating the history of paper deterioration. Then we looked at the books we worked on last session:


This one is Quinn's octavo.

-Take the book out of the press and prepare tin metal sheets to go between the endsheets as well as old and new wax paper. The metal tins help with the bounciness of the paper (when a book naturally fans open).
-The first book I sewed the endsheet to the text block, so this is merely a matter of applying a light coat of wheat paste to the end sheets, with ample amounts in the gutter. The wheat paste should appear shiny and have no lumps.
-Close the book by pushing the cover over and then down. This stick the cover into its normal resting place.
-Change out the old wax paper for a new sheet.
-Put the item in the press with the boards around it overnight. (I will have to take this book home and apply weight to it with boards around it on my own.
*Don't worry about excess wheat paste, it comes off of leather easily.
*If the end sheet sticks out too far, it can be trimmed after it is dry.

For the second book I had to first tip on the end sheet with PVA glue, then used the same method as described above.

I was still a little confused on how to take out and put back in the reels of a VHS, so I had Sharlane show me how that was done. She showed me again the little tabs and then showed me the little runners that the film fits between. This is not something that can easily explained, so here are some images showing how each side of the film goes through the runners directly adjacent to the tape, then weaves around a runner (or wheels) that positions the film to the outside edge of the case-directly under the flap.


I finished the tiny book by making a small case for it and tipping on the endsheets using the same methods as the modern book without the creation of a mull.


For lunch we had a pizza party to celebrate our last day at Kelvin Smith Library's preservation department. Sharlane invited other departments to come down after lunch for cookies and to see our finished work. Many people stopped in to say hello while we worked on opening our book pages with a paper knife. The flat side is used by placing near the edge of the crease and doing little tears along the edge. It is best to go through one page at a time when cutting open an octavo. When you are done, it should appear that all edges of the book are deckled.

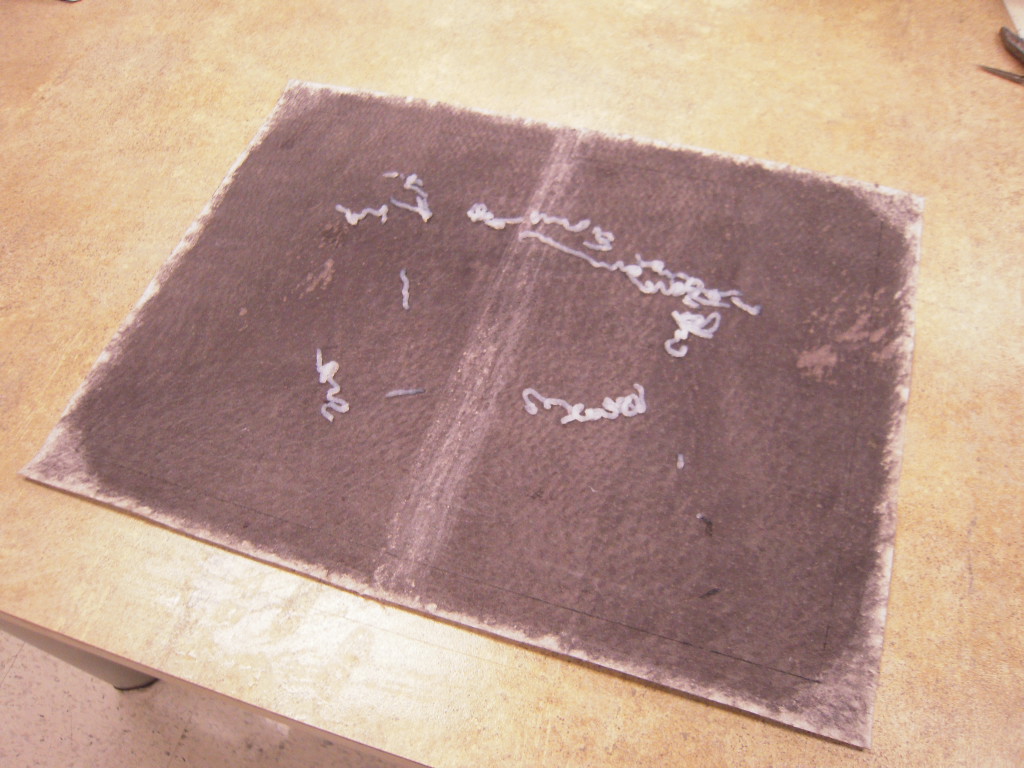
After opening our pages we tried marbling paper with ink and acrylic paints (I brought oil, but forgot turpentine-which shouldn't be used in the preservation department anyway). We researched how to make the marbled paper online and found that for every 8 cups of water, 1/2 cup of methyl cellulose should be mixed into a shallow basin. This solution should be stirred or whisked periodically over an hours time. After several attempts, we discovered that the acrylic paint would not cling to the surface correctly. The ink worked, except that it didn't stand out enough, so many of the pages looked faded when we were done. Here is our "successful" pieces:


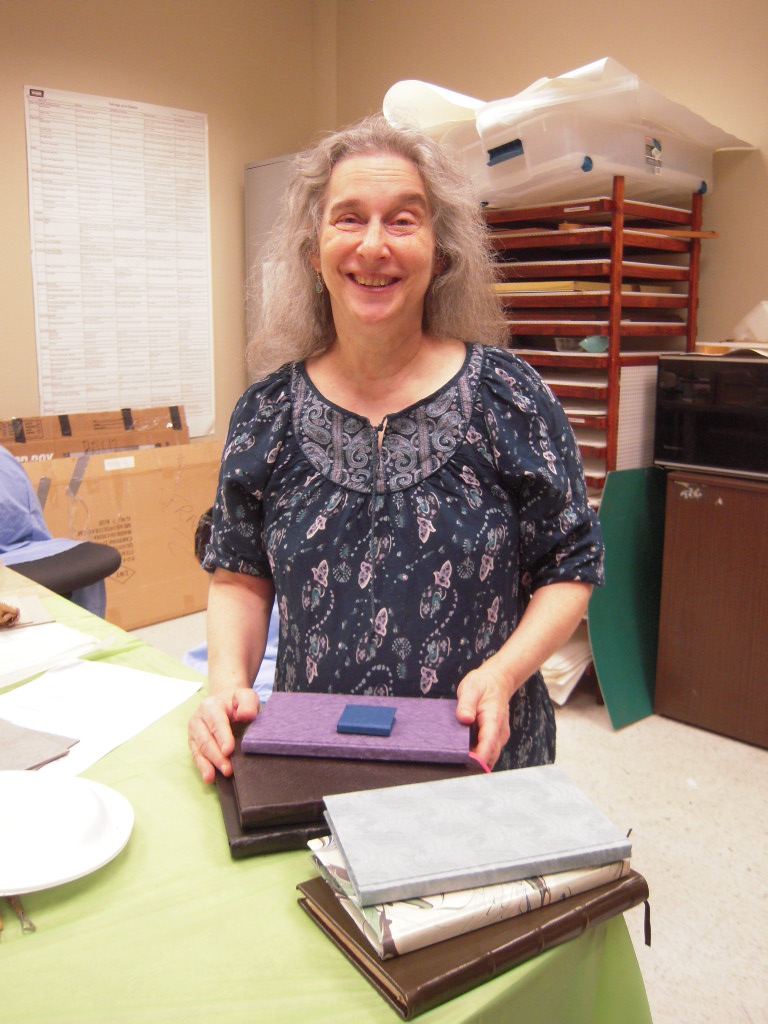
Before we left, I photographed the book I had to leave behind in detail, along with all of the other books that were created during the semester with their creators:


I left the library for the last time at 4:30pm.

Thirteenth Week Experience (Day 1)-April 18th

I arrived 2:10pm because I need to come in to attach the leather and leave it sit for two nights before we can glue the end sheets to the cover. 


In order to accomplish the leather stretching we had to alter our methods of securing the leather to the board and making the indents. We pared down the center of the leather, where it will need to stretch over the spine.
-First we cut boards to the same size as the boards on the books.
-Next we wrapped wax paper around the text blocks like a present, so that only the spine was exposed.
-Then you prepare the leather by coating it with wheat paste with a large brush.
-Fold the cover together and using water soaked cotton balls to rub down the outside leather on both sides. Squeeze out some water and then rub it into the surface of the leather.
-After a few minutes open up the leather and remove the wheat paste with a bone folder.
-Do this twice more or until the leather becomes more flexible.


-Coat the leather with wheat paste and place it on the book while holding the book closed.
-Work the spine into shape-hold one side to the board while pulling with the other to stretch it into place. You  can also push down on the spine until it adheres to the shape.
-Using the crimper, grasp the cords through the spine of the leather. Squeeze the cord all the way around in order to make it more defined.


Next the leather needs to be glued to the inside.
-Push over the outside edges.
-While one person holds the text in the air, turn in the top and bottom portions of leather.
-Cut away the corners of the book that should be sticking above the rest of the board., similarly to how the modern book corners were made.
-Bonefolder down outside edges, smoothing over the excess leather at the top edge for the corner.
-Bonefolder along the top and bottom edges securing the spine and corners (on top of the leather from the sides.


Here is where we changed things:
-Close the book and put boards around the outside.
-Attach thin rubber bands to the boards so that they rest on either side of the cord pieces. 


-Use the bone folder to define the top and bottom of the spine, along with the areas by the cords.
-Put in the upright press and put been bags on top of the spine overnight for two nights. 


*If this were a repair instead of a new item, we couldn't have used water on the leather because it hardens the leather. 


Before I left at 4:10pm I also took a few photos as new options for the library's website.


Twelfth Week Experience-April 11th

 I arrived at the library at 9:10am, and started my day with discussing the flow charts, disaster plan and other work I was doing for the library outside of the experience. In our spare time I asked Sharlane questions about running a preservation department. She said that some of the biggest challenges of her job is conveying the importance of preservation-which is much easier to do with physical examples, education the staff and patrons, mingling the special project deadlines with day-to-day work, and dealing with environment problems and disasters that are not getting enough attention. There are hardly ever issues with training students, but occasionally you run across someone with no aptitude for book mending, sometimes caused by unrefined motor skills.

She gave me some helpful tips about working in a preservation department, working with other departments, and being a supervisor. No matter what level you are dealing with, giving people concrete evidence of damage leads to better dealing with the individuals of the department. For instance, you have a maintenance worker who wants to cut a corner to save time, if you show them an item damaged by the cut corner in the past, it makes it easier for them to understand the importance of the protocol the library has in place.

Along with that, as the head of preservation Sharlane must have a good relationship with everyone inside the library and at the branches in order to run the department smoothly. This means you will have to deal with a lot of different personalities and need to make an effort to understand their views. Sometimes you will need to simply recommend other methods or compromise with the person. Sharlane also reminded me that there will be library policies that I won't like or find that they put more items at risk, but I have to remember that there is no perfect library. In the future, you choose the battles carefully.

This week we explored one of Sharlane's other responsibilities, which is hanging and creating exhibits. We went up the the second floor with a cart of items used to make displays, such as signs and holders. I helped Sharlane hang the most expensive item in the library, which was a rolled up scroll. While still rolled up, Sharlane hung the item on the nail, then I helped her slowly unroll the object. The scroll is paper mounted on fabric. The paper has become fragile. In order to get the item to hang straight, we had to be innovative and made a strip of paper that could push between the wall panels-holding the scroll in place.


Some of the items Sharlane has dealt with in the past are color prints. She told me each item had a sheet of non-acidic buffer paper, separating the item from the matting. She did this because she was unsure as to what sort of materials the matting board was made of, and it's better to take precautions in this case.


Sharlane also cut a piece of clear plastic to protect some special exposed items for one of the displays. Here she is shown brushing off the surface of the plastic before securing it to the box:


After our conversation today about being a liaison to other departments and learning how to handle other personalities, I witnessed Sharlane using one of the techniques she recommended to me. She made a suggestion for some of the care of the materials, to which she was answered curtly 'we aren't going to do that'.


I helped people move the tables and cases, as well as clean each. After that, Sharlane and I set up a section of one of the tables for preservation's display. It featured several repairs, the sewing frame, my quarto, and some bookmaking supplies. When we were close to finished the dean came in and reviewed the room and the displays that had already been put up. Here is the preservation display:


Here are some of the other department's displays:


When we finished creating our display, we went back to bookmaking. I glued the spine of the octavo and brought it up to the same place as the other books we are making (adding on boards and cutting the leather to fit the item). 


Once I had the two pieces of leather cut I learned that the outer edges needed pared so they would not bubble out the end sheets. There are four different methods you can use when paring leather: go across the leather with a paring knife, scalpel or skiver, or pull towards you with the large paring knife. The large knife must be sharpened with honing oil on a sharpening stone. It is best to sharpen it by making figure 8s across the surface of the stone with the blade.


What method you use depends on how your leather reacts (not to mention your aptitude in using it), so it is important to use a test piece before proceeding. Be sure do the paring over a marble surface and have a dry paper towel handy to wipe away the shavings as you work. Here is the piece I tested with each knife by the edge I used it on:

To the right is the large paring knife, below is the scalpel, and above is the small paring knife.

This is the skiver. 

I decided that the small paring knife was easiest to use and least damaging to my leather choices. Here are some photos of the pared leather:


When you get good enough at using paring knifes you can take off whole chunks at once. Sharlane demonstrated how normal leather reacts:


I left the library at 6:00pm, after working on a few other materials that I could take home.

*If any processes are repeated in my blog, it is because they were repeated during my practicum experience. I apologize for any redundancy.